Headboard No. 2
Mar 19. 2008
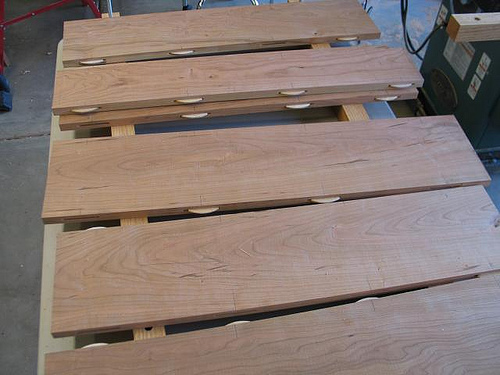
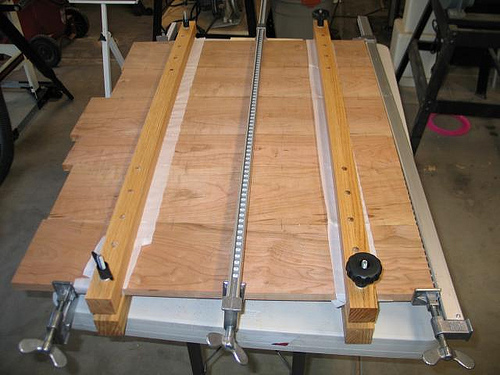
Speaking of those 6 pieces, here are some photo’s of the glue up and the cauls in action:


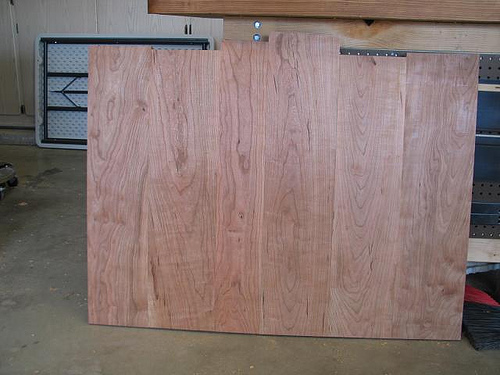
Here’s a photo of the glued up panel (it’ll have to be cut to size):

I think I’m starting to get the hang of this plane stuff. I extensively employed the #7 jointer to match up these edges. I tuned the plane to the point where the shavings were tissue thin. Then I took it really slow and made sure to apply even, centered pressure on the plane throughout the stroke. I tried to do two pieces at once to see if that made things easier, but surprisingly it did not. I was really amazed to see the difference in how tightly the edges matched up when comparing the “straight-off the jointer” fit to the fit after planing them by hand. Interestingly enough, you can “feel” the difference when you plane. The jointer leaves tiny bumps in the edge of the board. The first few strokes of the plane skip between these and shave them off. I’m now convinced that a better joint is obtained by doing it with a hand plane than a machine jointer. (I read as much, but now I can see what was meant.) I think the optimal approach for me is to machine the edge first, then finish it up with the plane. Were I more skilled, I’d skip the machine entirely, but by doing it this way, I’m assured of a reasonably flat and square reference. I suppose if I had some kind of a fence for the planes (I’ve been trying to get one of the old stanley 386’s on E-bay, but they’re pricey), I might be able to do it all by hand.
Here are the side panels getting glued up:

The cauls worked really well, although if I were making them again, I’d make them thicker. Because they are almost 4′ long, they bow if I torque them down too much on a long panel. You can see in the picture above that I ended up clamping both side panels at once. I ended up using a small clamp in the middle to counter the flex in the cauls. Were I doing only a single skinnier panel, I’d not have to contend with the flex as I’d position the bolts closer to one another.
 The posts are coming!

0 comments
Kick things off by filling out the form below.
Leave a Comment